

RadioMaster MT12 Gyro Control Module
£11.75 Inc. VAT
Genuine RadioMaster upgrade part for your MT12 radio.
Only 4 left in stock|Next shipping: 23/02/2026
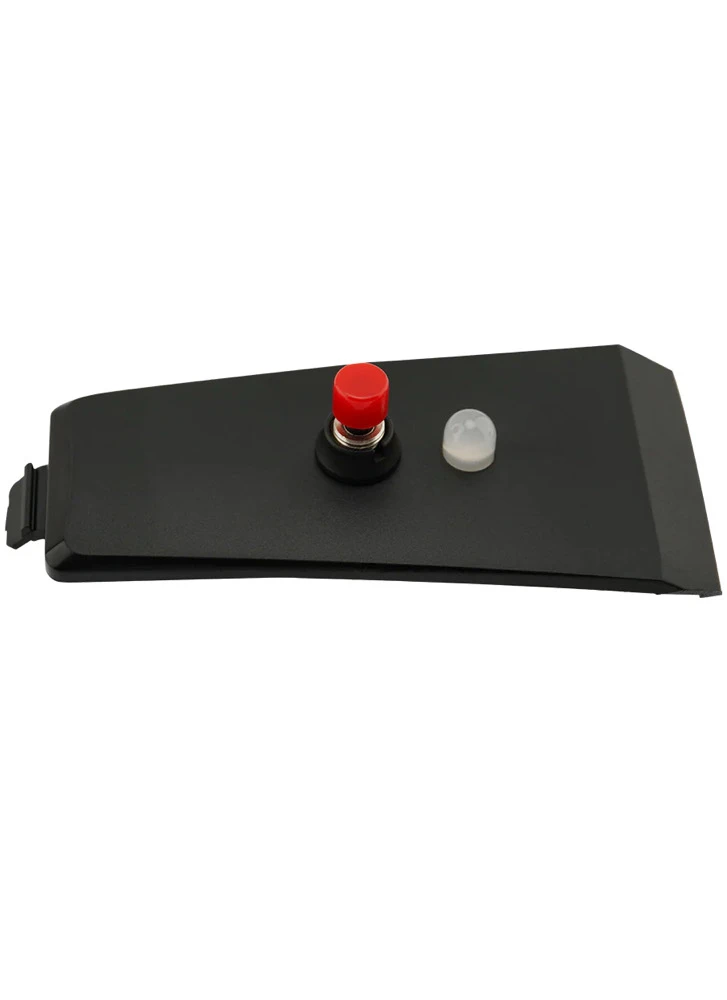
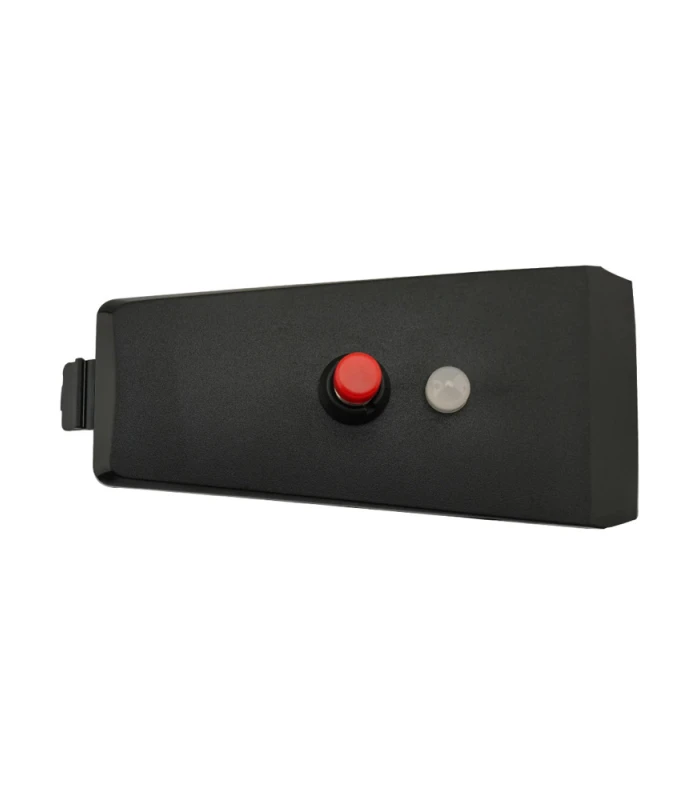
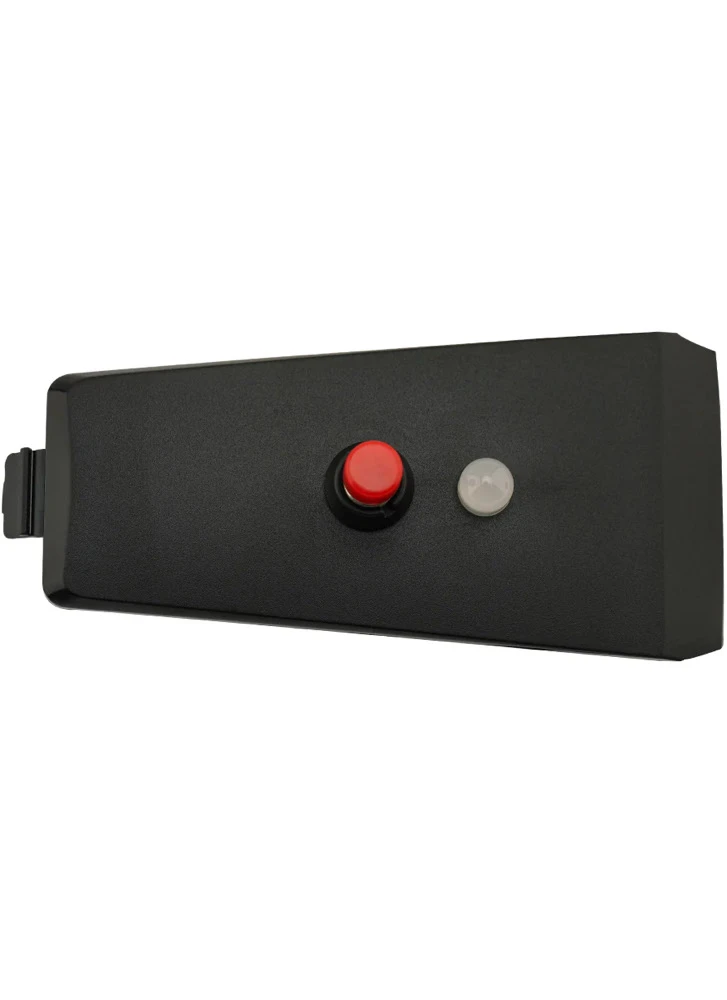
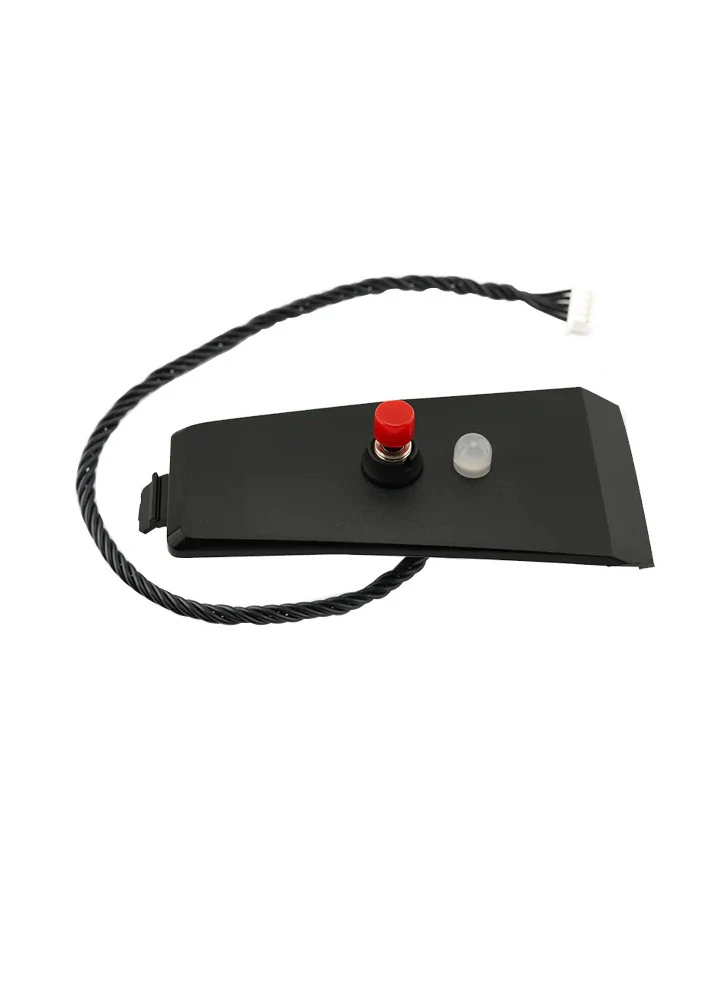
The MT12 gyro enables control of two channels using hand gestures, allowing you to operate devices such as a pan/tilt gimbal, RC tank turret, rear wheel steering, and more. When installed in the MT12 expansion slot, this two-axis gyro integrates your hand movements into the control stream through the advanced mixing and programmability of EdgeTX. The only limit is your imagination!
Upgrade Part for RadioMaster MT12 radio.
Click here to see the Switch Expansion Modules for MT12 Surface Radio
Installation
- Remove the battery from the bottom of the MT12
- Remove the top cover from the MT12 by pushing away from the grip
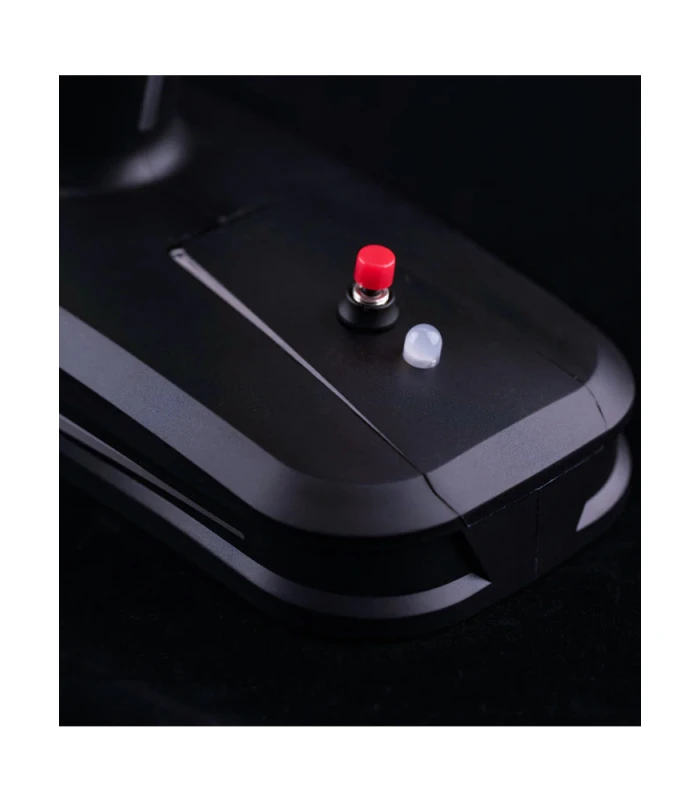
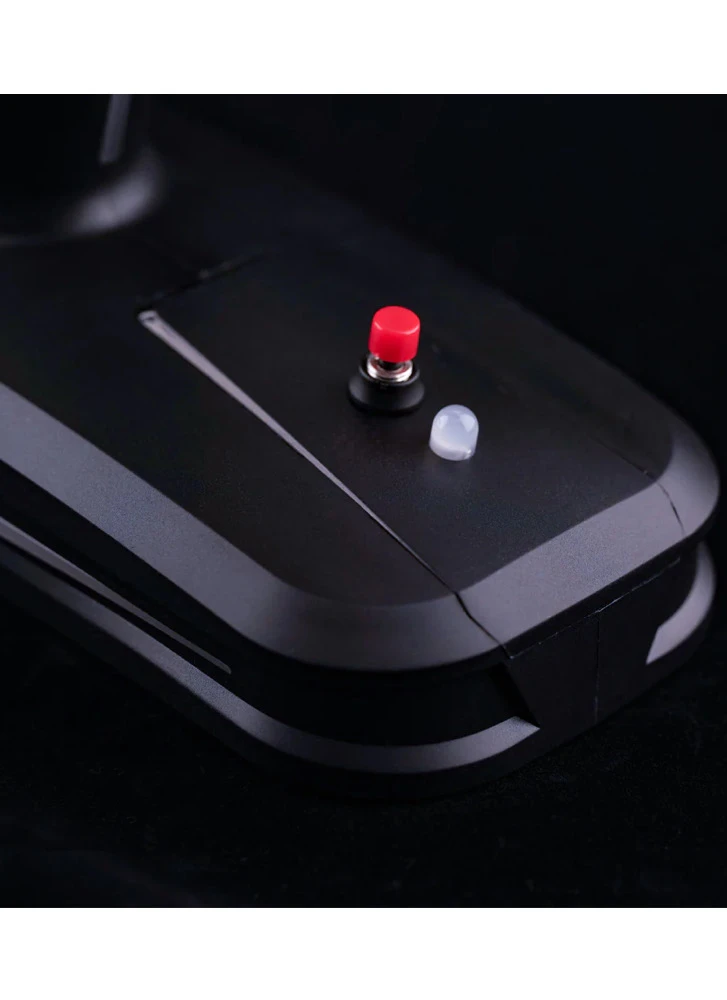
- Install the Gyro module at the top of the radio base
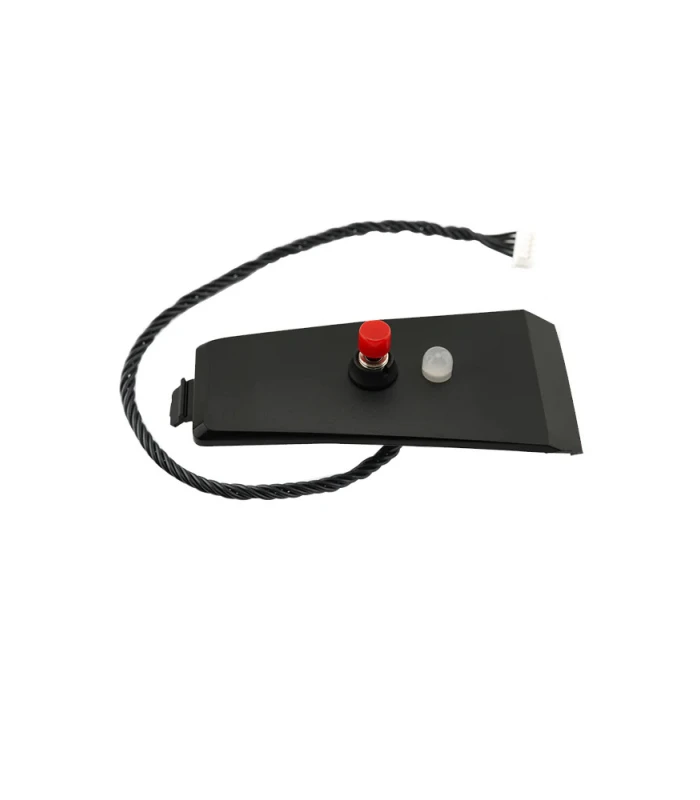
- Plug the cable into the 5pin connector in the battery compartment
How to use
Settings related to MT12 Radio
1. Press the “SYS” button and use the “PAGE” button to navigate to the “HARDWARE” menu. Set “S3” and “S4” under “Pots” to “Axis X” and “Axis Y”, respectively, as shown in the diagram below:

*Arrows behind Axis X and Axis Y represent the direction settings. After selecting with the scroll wheel, you can press the scroll wheel to modify the direction.
2. Calibration in MT12.
Press the “SYS” button and use the “PAGE” button to navigate to the “HARDWARE” menu. Enter the “[Calibration]” menu to calibrate. The calibration method is the same as the process for calibrating other inputs on MT12. At the “SET AXIS MIDPOINT” step, place the MT12 on a table and keep it level, then press the scroll wheel to calibrate the neutral point. At the “MOVE AXIS/POTS” step, in addition to calibrating the maximum values of the existing directions and throttle, you also need to pick up the MT12 and move it back and forth and side to side, with angles greater than 45 degrees.
3. Input menu settings.
Press the “MDL” button, then use the “PAGE” button to navigate to the “INPUT” menu. You must bind the gyro output to two input channels in this menu. For example, bind Axis X (S3) to “I09” and Axis Y (S4) to “I10”. For “I09” as an example, enter the “Edit” menu of input channel 09. Select “Source” and press the scroll wheel, which will cause it to blink. At this point, tilt MT12 left and right, and the system will automatically switch the input source to “Source S3”, as shown in the diagram below:

4. Mixer menu settings.
Press the “MDL” button, then use the “PAGE” button to navigate to the “MIXER” menu. In this menu, you need to bind the gyro inputs to the actual receiver output channels. For example, use left-right tilting (Axis X) to control channel 3, and use forward-backward tilting (Axis Y) to control channel 4. For channel 3 as an example, enter the “Edit” menu for channel 3. Select “Source” and press the scroll wheel, which will cause it to blink. At this point, tilt MT12 left and right, and the system will automatically switch the input source to “I09”, as shown in the diagram below:

Gyro Sensor Calibration
To accommodate different users’ holding gestures, you can calibrate the sensor’s neutral point by pressing and holding the red button for 2 seconds. During calibration, the red light will flash. A steady green light indicates normal operation.
- Power Supply: DC 3.3V
- Weight: 8.3g
- Dimensions: 65.0*33.0 mm
- X-axis Angle Range: 90° [-45° to 45°]
- Y-axis Angle Range: 90° [-45° to 45°]
Included:
- 1x RadioMaster MT12 Gyro Control Module
- 1x 5pin JST cable (installed on Module)
Questions and answers of the customers
There are no questions yet. Be the first to ask a question about this product.
SHIPPING & DELIVERY
We are based in the UK, but ship to most worldwide destinations. Postage rates are calculated by the size/weight and shipment location. We process orders Monday to Friday and pride ourselves on our quick turnaround of orders - most UK orders will arrive the next day.
We are partnered with several delivery companies including Royal Mail, DHL, UPS and Parcel Force. If you have a special delivery requirement or would like to arrange a shop collection please contact us.
A confirmation email will be sent when your order has been dispatched. If you wish to change your order, please contact us promptly, as we won't be able to make amendments once the order has been shipped.


Please fill in the fields below with the shipping destination details in order to calculate the shipping cost.
Shipping to the UK
- Order before 4PM for same day dispatch with Royal Mail, 2PM for next day delivery with DHL and 1PM for next day delivery with APC.
- We offer FREE Shipping on UK orders over £99, weighing less than 1kg.
- The courier options deliver Monday to Friday, Royal Mail delivers to residential addresses on Monday to Saturday.
For small low value orders our cheapest delivery service is Royal Mail First Class. For a guaranteed next day delivery we recommend Royal Mail Special Delivery or one of our courier delivery options.
International Postage
- Order before 4PM for same day dispatch with Royal Mail.
- Abitur parturient praesent lectus quam a natoque adipiscing a vestibulum hendre.
- DHL Express offers NEXT DAY delivery to most European destinations and a very fast delivery for countries further afield, generally 2-3 days.
Orders shipped outside the EU may be subject to customs charges. These charges are additional to any delivery costs and will need to be paid by the recipient.





Reviews
Clear filtersThere are no reviews yet.